In our projects we need to be able to manage an almost limitless list of information. Sometimes, we may only be able to access this information through certain channels, such as specialty applications or web sites. One way that we manage these outside items in FastTrack Schedule 10 is by creating hyperlinks directly to them from any task in our project. Hyperlinks are a great way to manage all of the documents and data relating to a project that can’t normally be inserted within your project schedule.
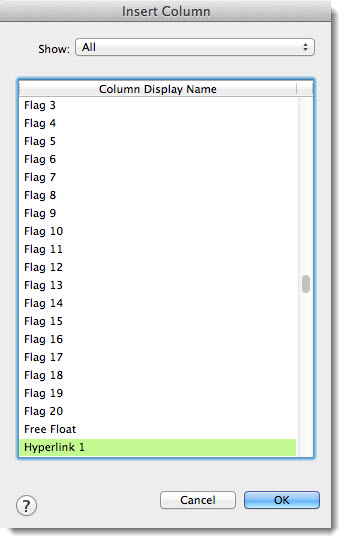
In FastTrack Schedule 10, you can create up to 10 hyperlinks for every task and resource in your project! Within each of these hyperlink columns, there are 3 different items that we can link to Web URLs, email addresses, and direct file locations. The first step to working with hyperlinks is to add a Hyperlink column to your schedule. You can do this by going to Insert > Column > Hyperlink 1 and then select OK.
To edit a hyperlink, place your cursor in the hyperlink column corresponding to the activity you wish to add a hyperlink to. Right-click or control-click and select Edit Hyperlink. We then see our Define Hyperlink dialog which gives us options for entering hyperlink information. First, let’s take a look at entering an email address as a hyperlink and see how this functions.
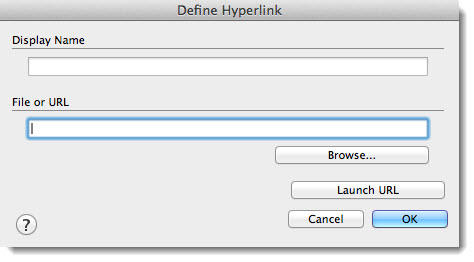
1. In the Define Hyperlink dialog under “File or URL” enter the email address you wish to link to.
a. Here we will link to our Support Email, support@aecsoftware.com
2. Under “Display Name” we can enter the text as you wish it to appear in your schedule.
a. If you leave this box blank, it will automatically copy what appears in “File or URL”
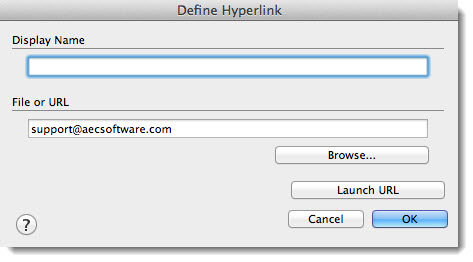
3. Select OK to insert the hyperlink into your file.
4. To then launch your hyperlink, select the link in your schedule.
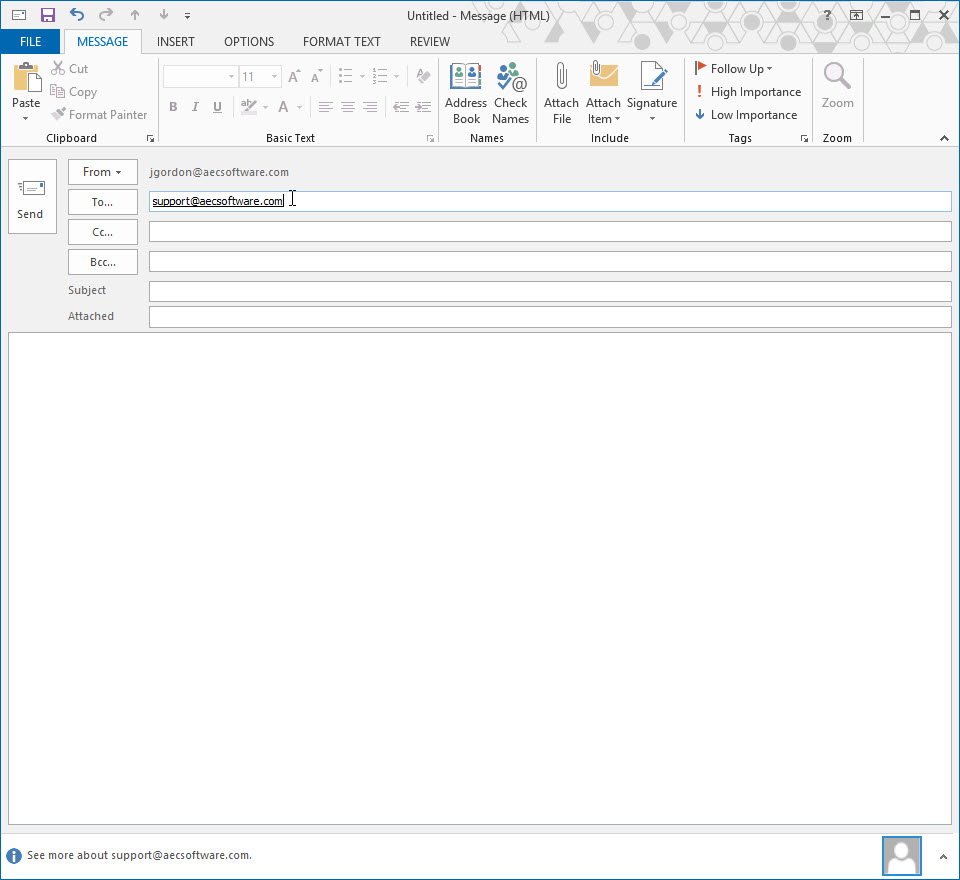
When we select a hyperlink, it will first launch the default application for the link type (in this case an email application) and it will then open the file selected. With an email, it will open a blank email addressed to the recipient.
The next type of hyperlink that we can create is a link to a Web URL. Here we can follow the same steps as we did for entering an email, – right-click or control-click in the Hyperlink 1 column and select Edit Hyperlink to open the Define Hyperlink dialog.
1. Under “File or URL” we can enter the Web URL we wish to link to.
a. We can link to any URL, even secure https: URL’s that require an authenticated login.
2. For our example, let’s create a link that directs back to the website for our products, www.aecsoftware.com
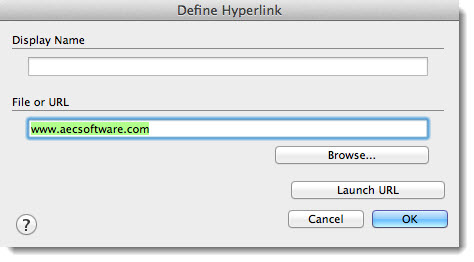
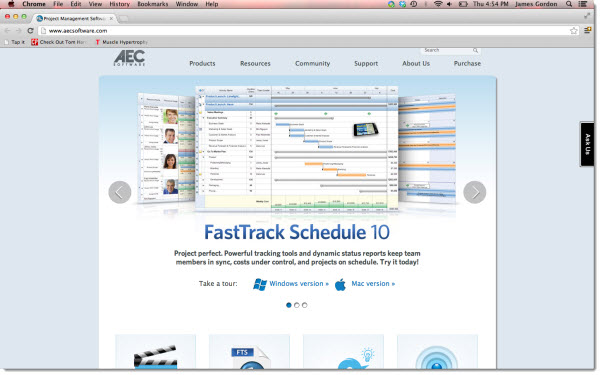
3. When working with Web URLs, we can select the button Launch URL to open a web browser and confirm that the URL functions correctly.
4. Select OK to save and enter the Web URL into the file.
The last type of hyperlink that we can create is a link to a specific file or document. FastTrack Schedule accepts links to virtually any file type, as long as you have an application that can open the specified file. Once again, right-click or control-click within the Hyperlink column for a specific task and select Edit Hyperlink.
1. Under “File or URL” select the Browse button.
a. This will allow you to browse your computer, or a shared location, for a file to link to.
2. Navigate to the file that you wish to link to and select Open.
a. Here we have linked to an image file.
3. When you link direct to a file the entire file name and location will be visible in the Display Name, we can change this to just show the file name.
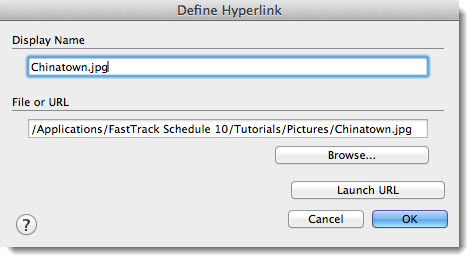
4. Select OK to save and add the file link to your project.
5. When you select the link, the default application for the file type will be launched followed by the file itself.
a. With our file, Preview will first launch and then display the image.

Has there ever been a case in your projects where you needed to reference a website, a resource’s email, document, or picture? How could using hyperlinks in your file help make this data management more stress-free in future projects?

