In many of our projects we find the need to track and manage the different personnel and equipment that are required in order to complete tasks. We often find ourselves tracking the amount of time these resources are assigned to tasks in order to prevent any over-allocations of work. One way we do this is by utilizing Spot Allocations. Another piece of key resource data we can track is cost. In FastTrack Schedule 10 we have the ability to easily assign and track several different types of costs from our resources.
When working with resources we have the ability to manage three different types of costs:
- Per Use Cost
- Standard Rate
- Overtime Rate
These three options give us the ability to accurately track complete costs for resources across the individual tasks that they work on as well as the project as a whole.
Per Use Cost
Is the cost associated with assigning a resource to a task. When a resource has a Per Use Cost this cost is automatically calculated whenever a resource is assigned, no matter what the total duration of a task may be. For example, if a resource has a $500 Per Use Cost this means that each time the resource is assigned to a new task there is a $500 flat cost. It does not matter if the task is a single day or ten days the Per Use Cost will always remain at $500.
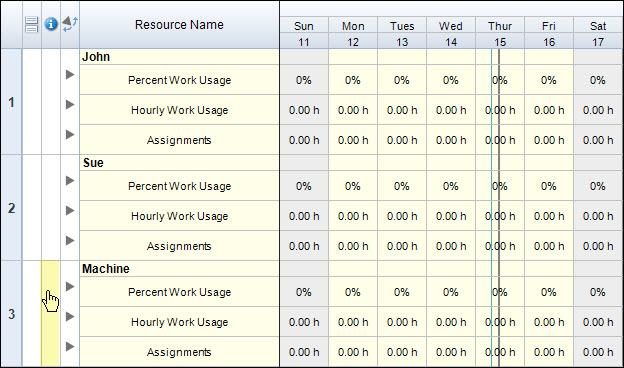
To assign Per Use Costs to a resource, first switch into the Resource View. You can then select in the Information Action Column to the left of the Resource Name.
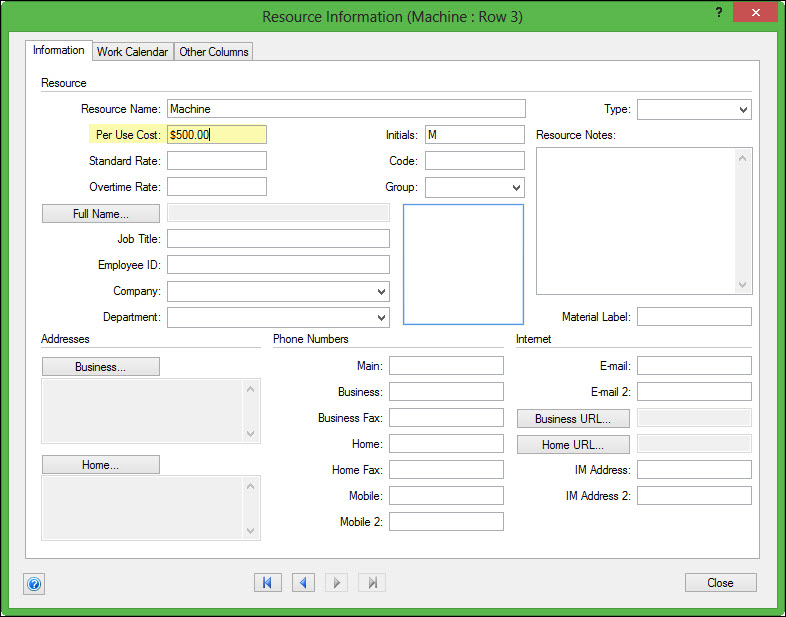
This will open the Resource Information Form. In the box labeled Per Use Cost we can enter any cost value. We do not have to enter currency symbols, as these will automatically populate according to the document preferences. Once you have entered a Per Use Cost value select Close to save and close the Resource Information Form.
Standard Rate
The Standard Rate is a cost that will accrue at specific time increments within the project. In FastTrack Schedule 10 you can set Standard Rates to accrue at the following time increments: Hourly, Daily, Weekly, Monthly, Quarterly, or Yearly. By default the Standard Rate will be used anytime a resource is assigned to work on a task, no matter what the total number of hours is.
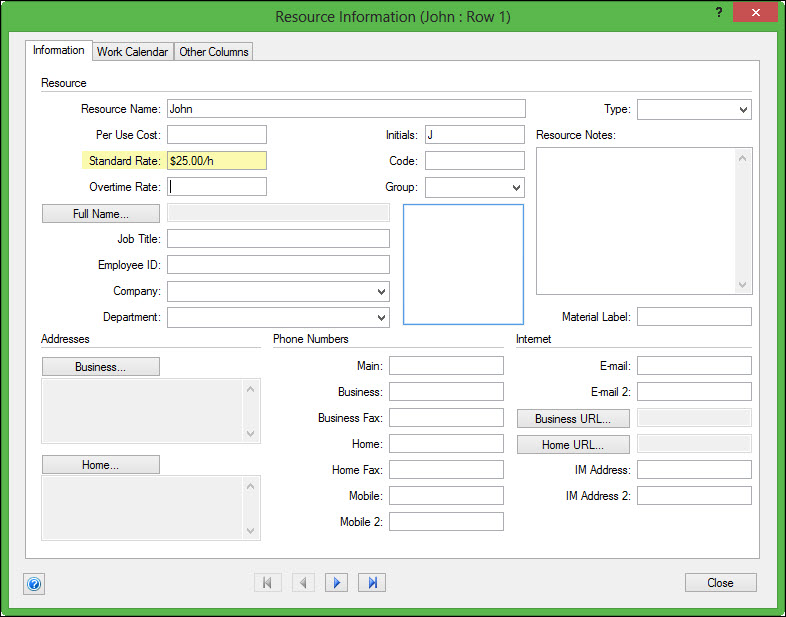
To assign a Standard Rate to a resource we once again begin by selecting in the Information Action Column corresponding to the resource in order to open the Resource Information Form. In the box labeled Standard Rate we can enter any cost value. Just as with Per Use Costs we do not need to enter a currency symbol. The default accrual time unit for Standard Costs is Hours, but you can easily change to a different time unit by changing the abbreviation to the corresponding letter of the time unit.
Overtime Rate
The Overtime Rate is a cost that will be used whenever a resource exceeds their maximum allowed allocation with a single time unit. For example, if a resource can only work 8 hours per day but needs to work 10 hours in a single day to finish a task they would receive their Standard Rate for the first 8 hours, followed by the Overtime Rate for the remaining two hours. Just as with our Standard Rates we can enter Overtime Rate to accrue at several different time units. We also have the option of leaving the Overtime Rate blank. When this occurs it will cause the resource to default to the Standard Rate no matter how many hours are assigned, even if it exceeds the maximum for a specific unit of time.
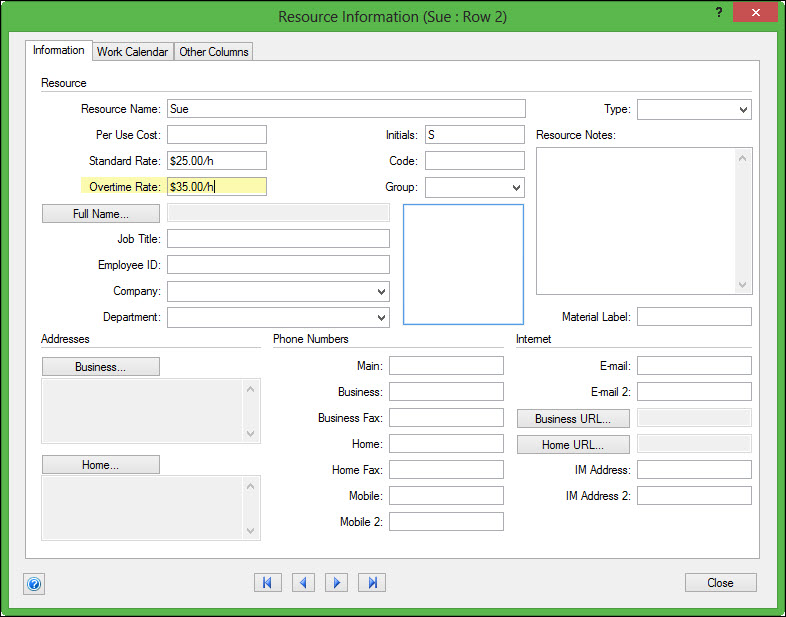
We can once again select the Information Action Column to open the Resource Information Form. Here we can enter in specific values for any Overtime Rates that our resources may use. In the box labeled Overtime Rate we can enter any cost value. Just as with Per Use Costs and Standard Costs we do not need to enter a currency symbol. The default accrual time unit for Overtime Costs is Hours, but you can easily change to a different time unit by changing the abbreviation to the corresponding letter of the time unit.
After we have assigned different costs to all of our resources we can then assign them to our tasks and begin to track the different costs of the project. If you have assigned resources to tasks prior to entering cost values, the costs will still automatically calculate to update your entire project.
One of the best ways to see costs per task in the Schedule View is to switch to the Cost Layout which will add in columns for Fixed Cost, Resource Cost, and Total Cost. By default, Fixed Cost will have no values entered and this can be used to monitor any type of costs that may not be directly accounted for in your resources, such as travel or additional expenses. Resource Cost will be the total cost of all resources that are currently assigned to the task, based on Per Use Costs, Standard Rates, and Overtime Rates. Total Cost is then a combination of both Fixed and Resource Costs.

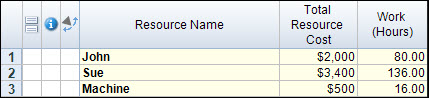
We also have the ability to view the total cost of each resource in our project. In order to view this, we can switch to the Resource View and change to the Total Resource Cost Layout. This will show us the total cost of each resource across all tasks that they are currently assigned to as well as the total number of work hours that they have been assigned in the project.
Resource management can be a very large part of our projects, but if you are leaving out resource cost information you could still be lacking some of the most important information in your project. Do you make tracking resource costs a key point within projects? How can you utilize the different resource cost options and layouts to track and display costs effectively within your projects?