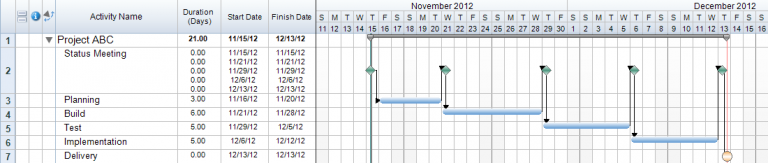
When managing our files it can be very important to save multiple versions of the file as we are working. We do this for several reasons. One of which is to make sure that we always have a functioning copy of the file in case something happens to our system. The other is to create the ability to compare the versions of the project as you are working. When you have several copies of a file saved at different intervals you can make comparisons between how fast progress was occurring at one point in the project to how it is occurring at the current time.
In FastTrack Schedule 10 you can utilize two tools in order to manage the versions of a file. The first tool is AutoSave, which will allow you to automatically save an existing or new copy of your file in time increments ranging from every minute to every 2 hours. The second tool is AutoArchive, which allows you to save a Read-Only backup copy of a file. AutoSave and AutoArchive can be enabled at any time in order to create versioning within a file.
First, we can enable AutoSave and set the options for how it will function within our files. To access the AutoSave options on Windows go to File > Application Options; on Mac go to FastTrack Schedule 10 > Preferences. While in the Application Options dialogue select the tab labeled Save. This will open the AutoSave options.
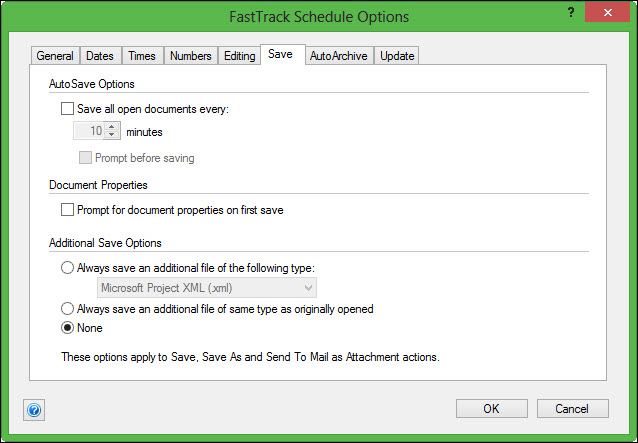
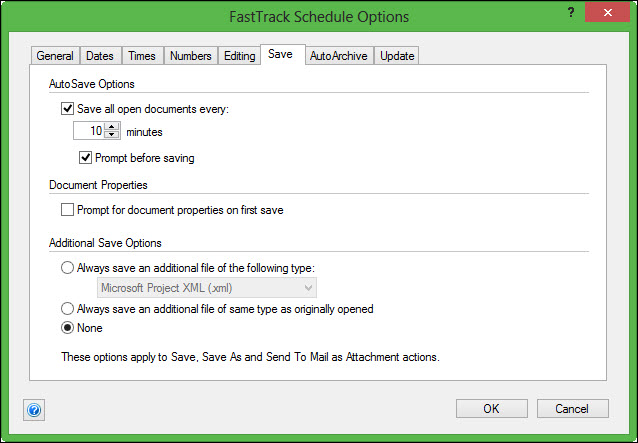
While in the AutoSave menu you can first select to enable AutoSave for all documents by selecting the box labeled Save all open documents every:. Next, enter the time increment that you wish to set between saves. The default is 10 minutes, however you can set this range anywhere from 1 minute to 120 minutes which will place 2 hours between automatic saves. Next, select the option Prompt before saving; this will cause a Save As dialogue to open with each save. The benefit of applying this setting is that you will now be able to add a version number to the file name to save an entirely new copy.
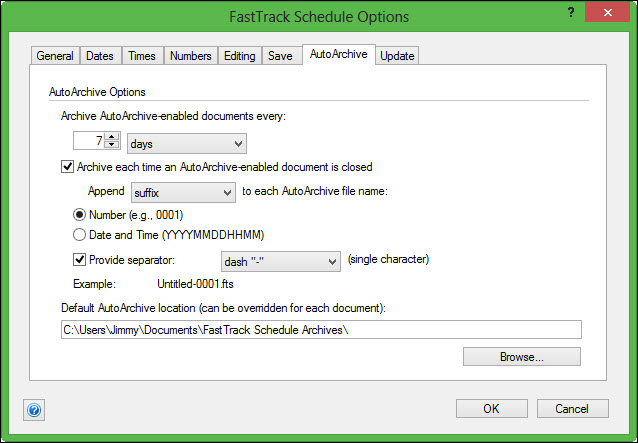
After you have enabled the AutoSave feature select the tab labeled AutoArchive to enable the AutoArchive feature and select how frequently this will occur. Once again, the AutoArchive feature allows you to create a Read-Only backup version of your file. By default AutoArchive is preset to occur every 7 days and upon each time an AutoArchive-enabled document is closed. If you prefer to create a more frequent AutoArchive you can change the units from days to hours or even minutes. After you have selected the frequency with which the AutoArchive will occur you can select how you wish the archived file to be named. You can select between adding either a prefix or suffix label to the original file name. You can then select between placing a simple number or whole date that the file was last archived to allow for simple versioning when recalling files. Lastly, you can select the location you wish the archived files to be saved. By default these will be saved in an application created folder called FastTrack Schedule Archives, however you can choose to move the files to any location that you find convenient.
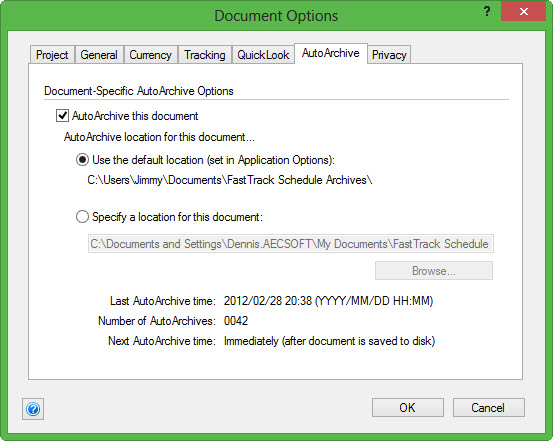
After setting both the AutoSave and AutoArchive options select OK to save and apply them to all of your active schedules. Aside from setting an application global option for AutoArchive you can also choose to enable or disable this feature for individual files. To do this on Windows go to File > Document Options; on Mac go to FastTrack Schedule 10 > Document Preferences. Once in the Document Options dialogue select the AutoArchive tab.
Within this tab, you can select to enable AutoArchive and choose the location that the archive will occur for the currently selected file. You can also find specific data about the AutoArchive such as the last time an AutoArchive occurred as well as when the next AutoArchive will happen in the existing file.
Using both the AutoSave and AutoArchive features enables you to create backups of your documents with relative ease. Not only this, but you can use these features to easily create different versions of files that can be used to compare key progress points throughout your project. Have you enabled AutoArchive or AutoSave to create backup versions of your files?