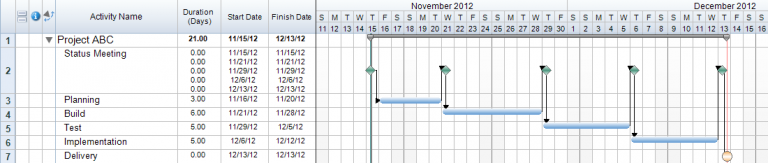
In our projects we keep track of data such as Dates, Durations, Cost, and Resources. There are sometimes cases when we need to keep track of additional items, such as the visual progress of a project. One way that we can accomplish this is by adding images to our tasks in order to help differentiate between points of progress. In FastTrack Schedule 10 we have several different options for adding images directly to our schedules.
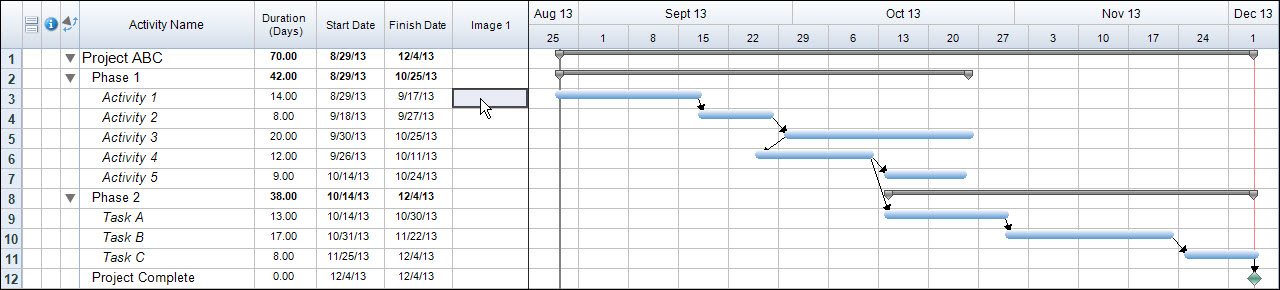
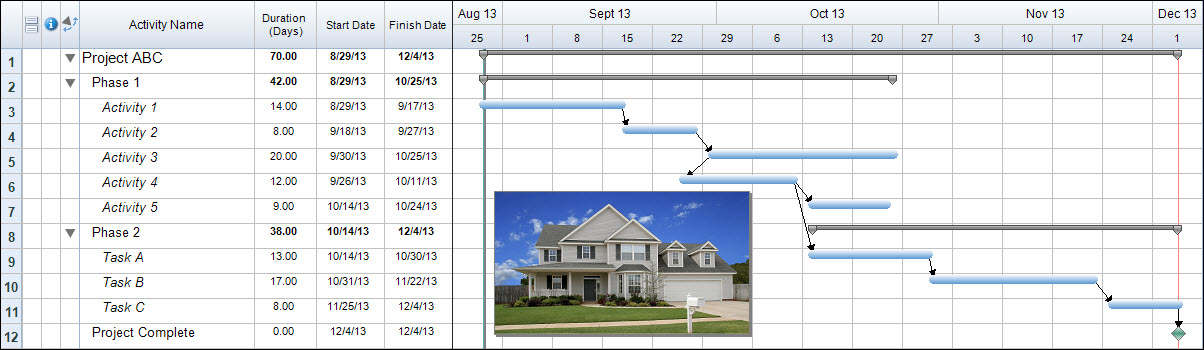
To start, we can add up to 10 Image Columns to our schedule. These will allow us to insert 10 different images for every activity. These different images can be used to show visual progress from start to finish on a task, or to even identify a product that will be delivered. You also have the ability to add an image directly to the Timeline Graph. When doing this you can scale and format the image, and even add pointers to show that it is directly related to a specific task.
To start, we will add a custom image column to the file. Go to Insert > Column > Image 1 and select OK to add the image column to your file. To then add an image into the column double click in the Image 1 column for the corresponding activity.
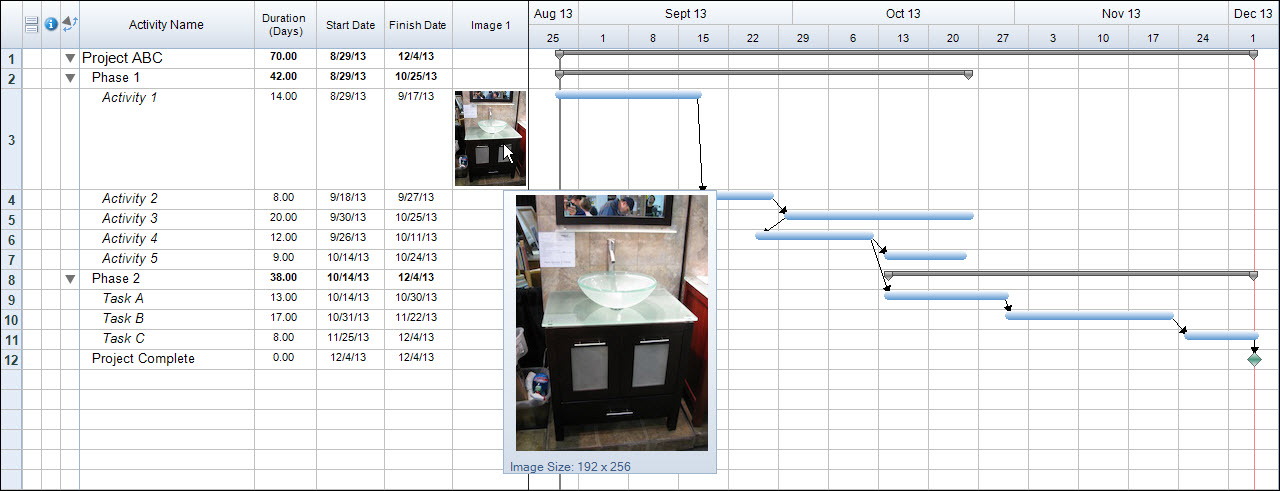
This will cause a Browse dialogue to open, where you can search through saved files for the desired image. When you have found the image, select it and press Open. This will add a thumbnail of the image into the Image 1 column.

The thumbnail is a smaller version of the image, however you can still view the image in its original size. To do this you can hover your mouse pointer over the image, which will cause it to expand to its full size.
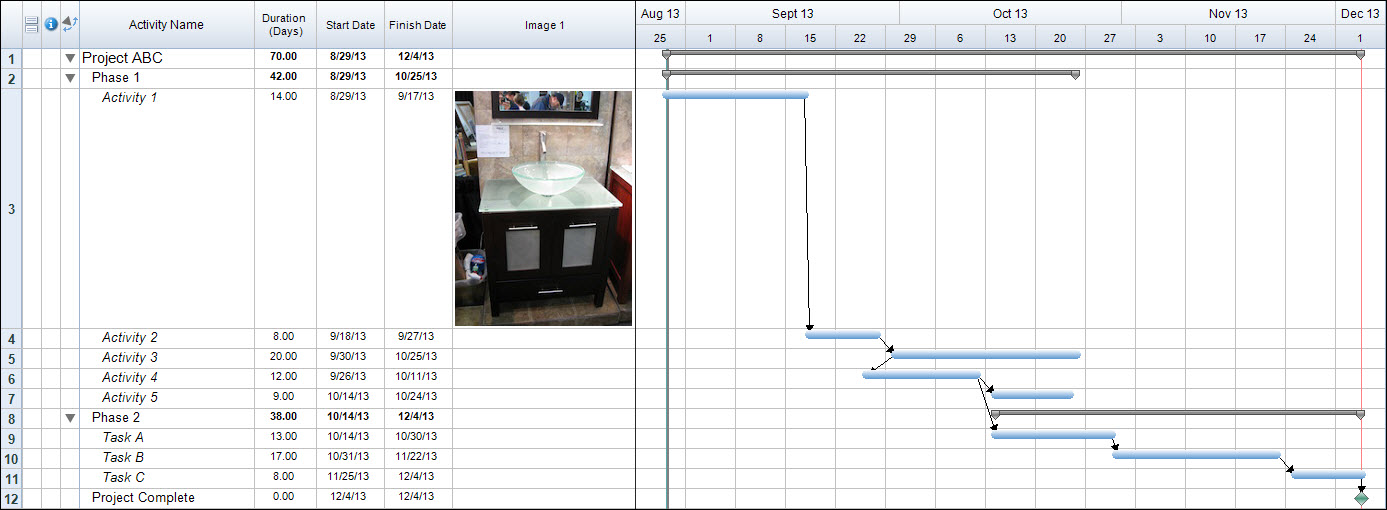
If you prefer to see a larger size image at all times you can also easily accomplish this. To do this, you must increase the width of the Image 1 column as well as expand the row that the image is contained in. To increase the width of the row, place your mouse on the vertical line that is separating the Image 1 column and the Timeline Graph. You can then click and drag the line to the right which will cause the column width to increase. Next place your mouse on the horizontal line that is separating the row the image is contained in (in this case the line between rows 3 and 4), you can then click and drag the line down which will cause the height of the row to increase.
As you move each of these lines the image will begin to scale to fill the empty space. Remember since FastTrack Schedule uses a WYSIWYG printing method the larger the image is in the Schedule View the more space it will occupy in a printout.
Now that you’ve inserted your first image you can add images for each additional activity, or you can add in any of the 9 remaining image columns to show image progress in a task. If you prefer to add an image directly to the Timeline Graph area of your project you can do this as well.
To insert an image into the Timeline Graph go to Insert > Picture and then select Browse to browse files saved on your computer. When you find the file you would like to add select Open and then OK to close the Insert Picture dialogue. At first, the image will be inserted at its full size, however you can use the boxes at the corner of the image to re-size it to fit within your schedule. You can then drag and position the image into the exact location you would like to see it at.
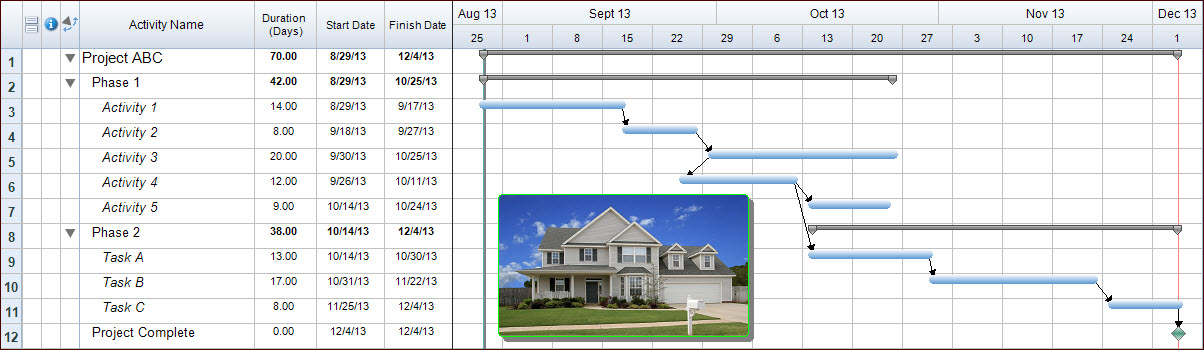
After you have inserted the image into your file you can format it further by adding items such as borders, shadows, and selecting which pages it will appear on in a printout. To open the format menu you can right-click or control-click on the image and select Format. This will open the Format Item dialogue. Here we can manage exactly how the image will appear in our file.
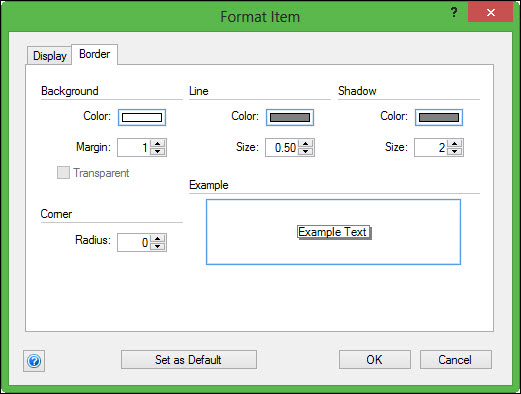
When you are done selecting from the different size and color options you can select OK to save and close the dialogue. The changes that you have made will automatically be applied to the image.
Adding images to a file can be a great way to give clients and stakeholders visualizations of progress of a task or final deliverable. Adding images into your project can make your company’s schedules stand above all of the rest.