With almost every project that we create we need to be able to display the details to stakeholders, clients, and resources at some point throughout its progression. We’ve already taken a look at how we can easily create PDF’s, Images, and share our schedules in a variety of file formats. However, one of the most basic and often overlooked forms of presenting details is through a hard copy on paper. Printing is something we don’t always think about, so when it comes time to do it we may overlook a few key details that will make the presentation pop.
In FastTrack Schedule 10, there is a very straightforward methodology used to create print outs. FastTrack Schedule utilizes a method known as WYSIWYG, or What You See Is What You Get. This really means that whatever we can see in the selected view, whether it is Schedule, Calendar, or Resource, is exactly what we will get when we go to print our projects.
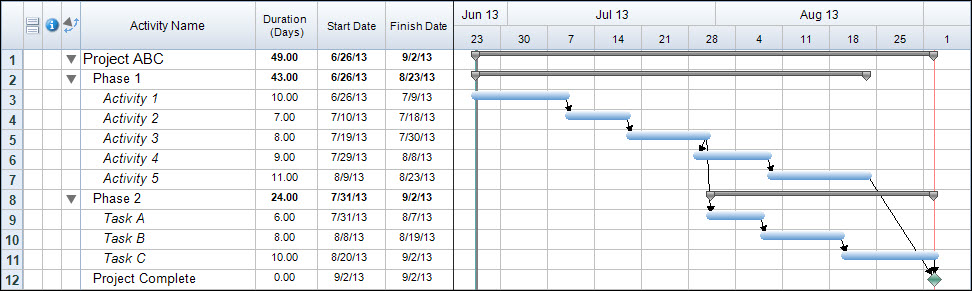
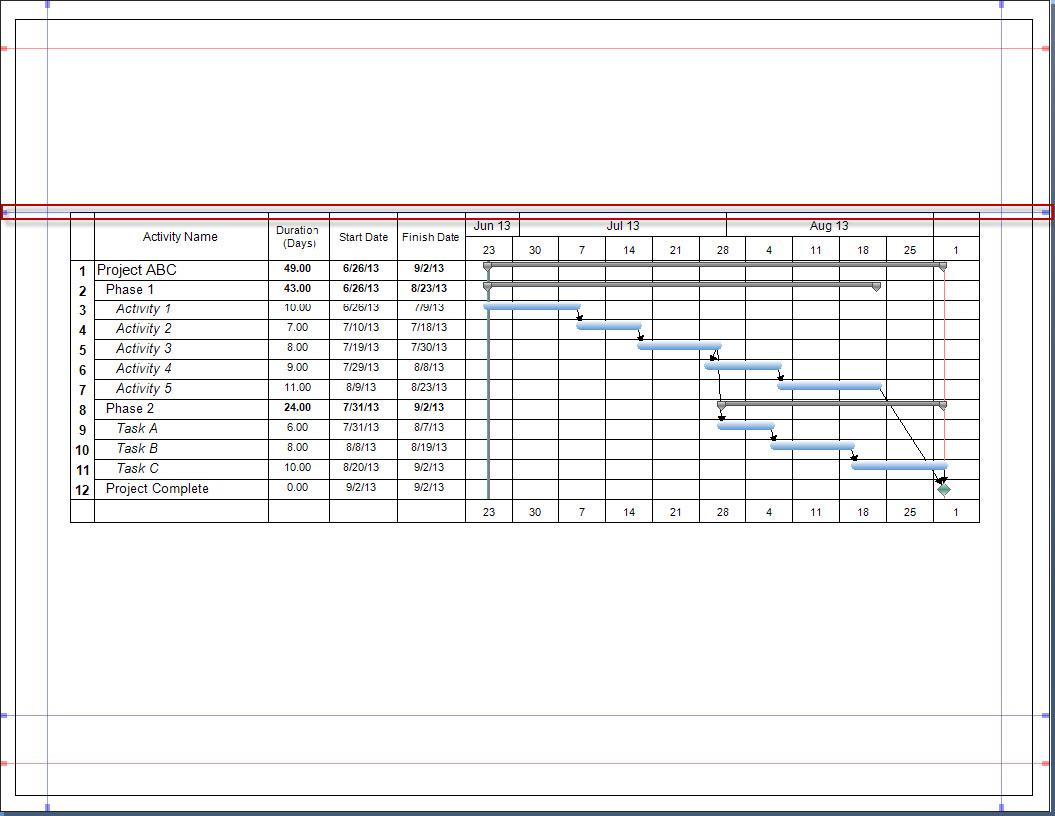
To start off, let’s take a look at what we currently see in the schedule view of our project. Here we can see essential details such as the Activity Name, Duration, Start Date, Finish Date and Timeline Graph.
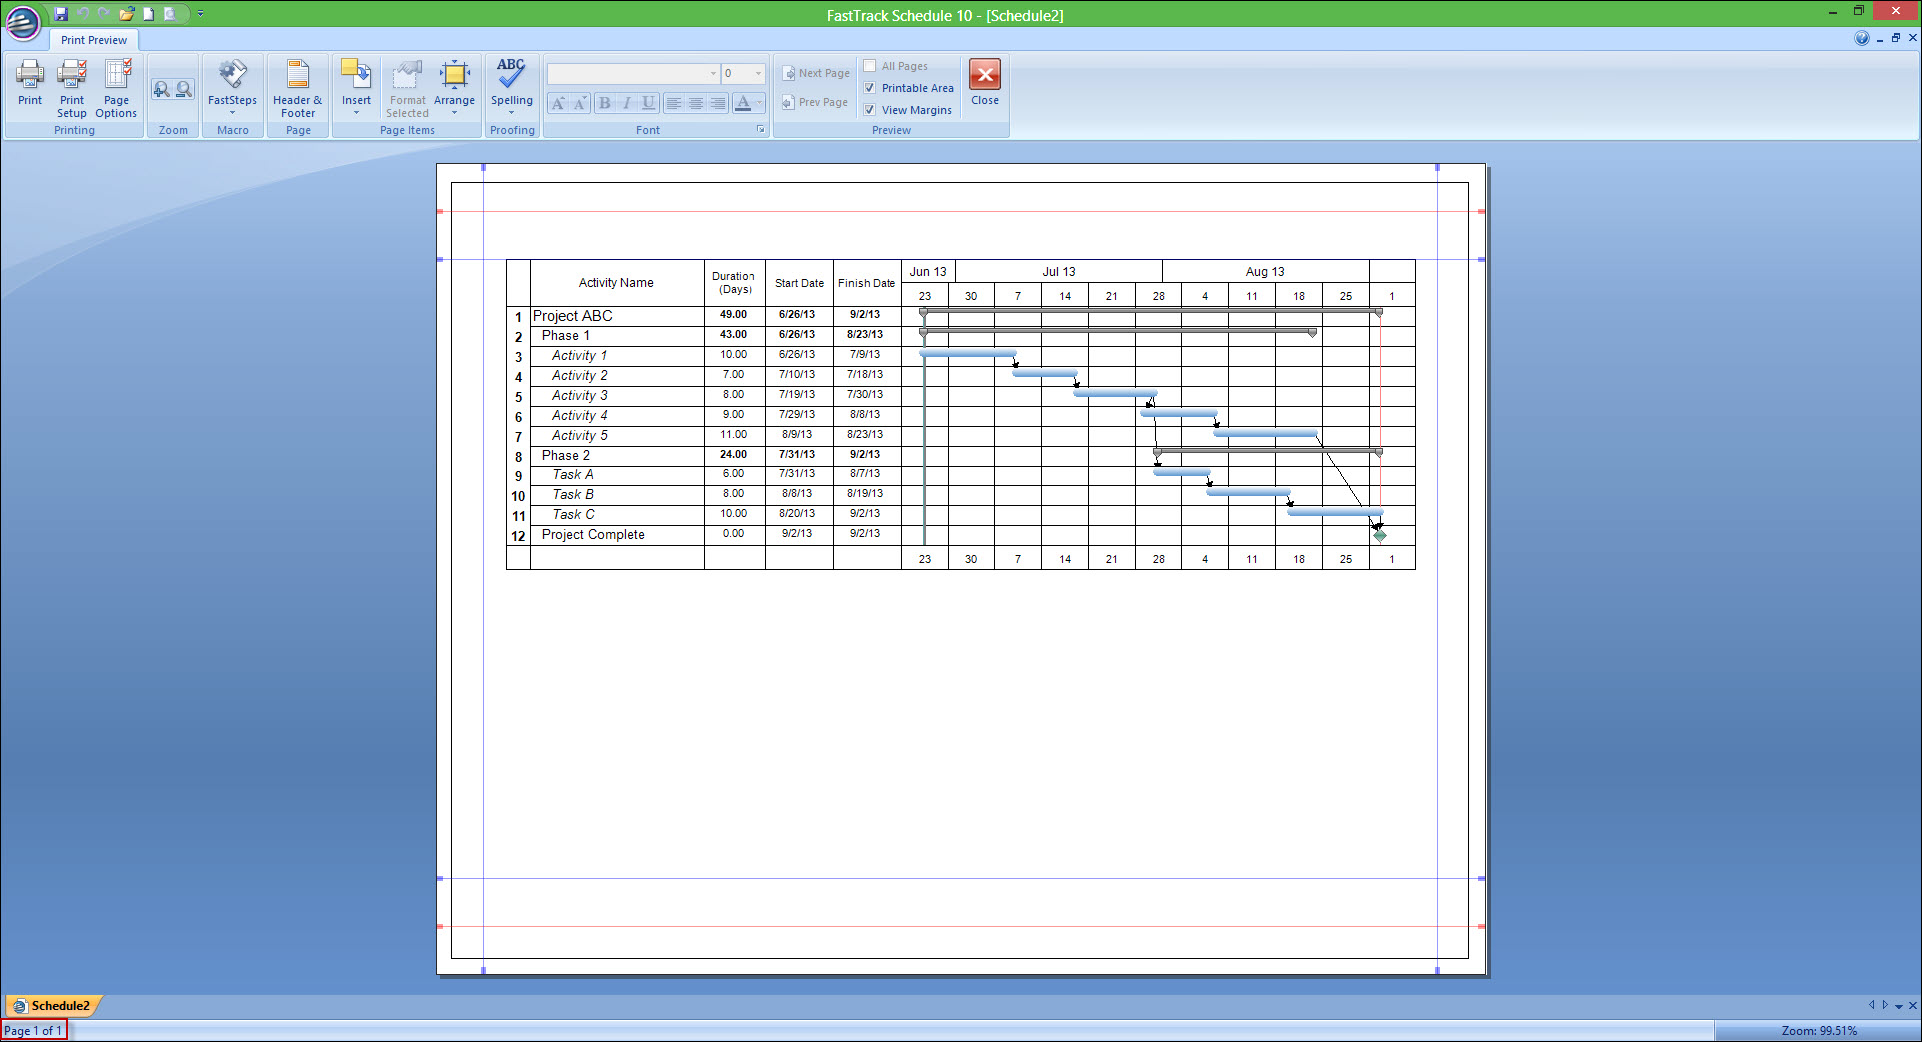
Next, we’ll switch into Print Preview which is often considered to be a supplementary project view in FastTrack Schedule 10. In Print Preview we can see exactly what we saw in the Schedule View. We’ll also find a Page Status Indicator in the lower left hand corner, which will indicate the current number of pages your project will print across.

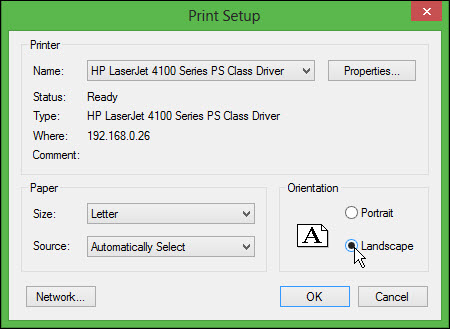
Now that we’ve got a first look at what our print out will look like it may be easy to spot a few items that need to be changed. For example, we can change the orientation of the paper so that we can fit more of the Timeline Graph within a single view. To do select Print Setup from the Print Preview Toolbar. Here we can change the paper orientation from Portrait to Landscape. We can even change the size of the paper based on how large of project we are printing.
When we select Landscape and then OK the landscape setting will be applied and we can once again view how many pages our project is now printing on. We can see that with this change our project has gone from 2 pages to 1.
Now that we’ve formatted our schedule to fit onto a single page there are still some steps that we can take in order to spruce up the overall look of the print out. The first step we can take is to align the project in the center of the page. To do this we can place our cursor on the horizontal Blue line at the top of the page. When we click with our mouse we can drag this line down the page until the project lines up in the middle, and is framed evenly on all sides by the blank spaces.
After we’ve centered our schedule we can continue to add additional items, such as Headers, Footers, and even Graphics to help give the print out a truly professional feel. We’ll start off by adding in some Headers and Footers which can display a few project details. To do this we can select the Header & Footer tool from the Print Preview Toolbar. When looking at the Header and Footer dialogue we will see four main areas. A top section provides a preview of what the header portion of the page will look like. The areas labeled Left, Center, and Right indicate the three locations where we can enter a header or footer on the page.
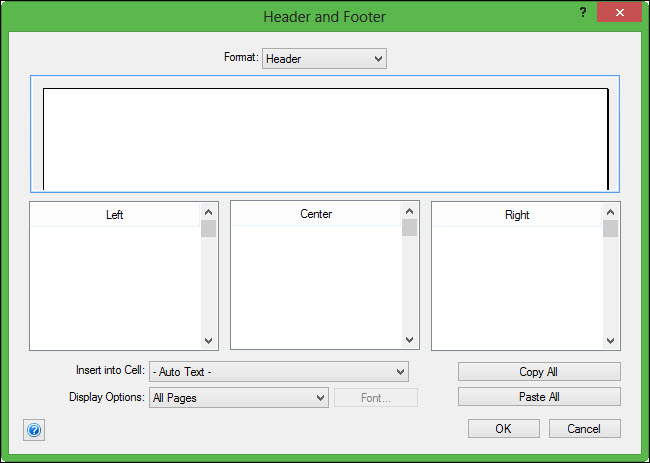
To enter data in our Header we first place our cursor in the location where we wish the header to appear. We can then enter Static Values such as the name of the person who created the file, or your company name. We can also use the Insert into Cell menu to select from various Dynamic Values such as File Name, Page Number, or even Current Layout.
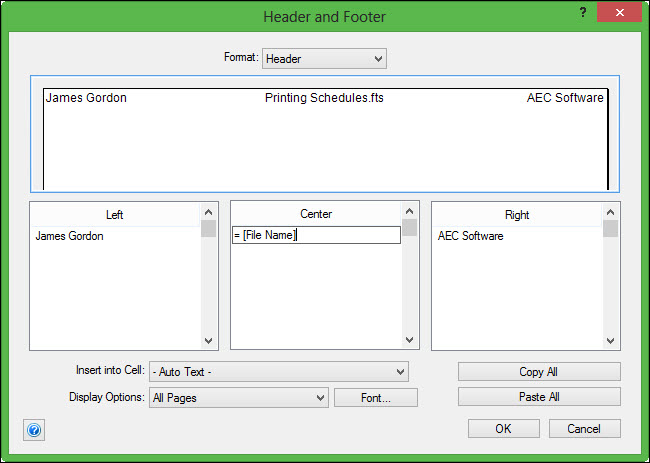
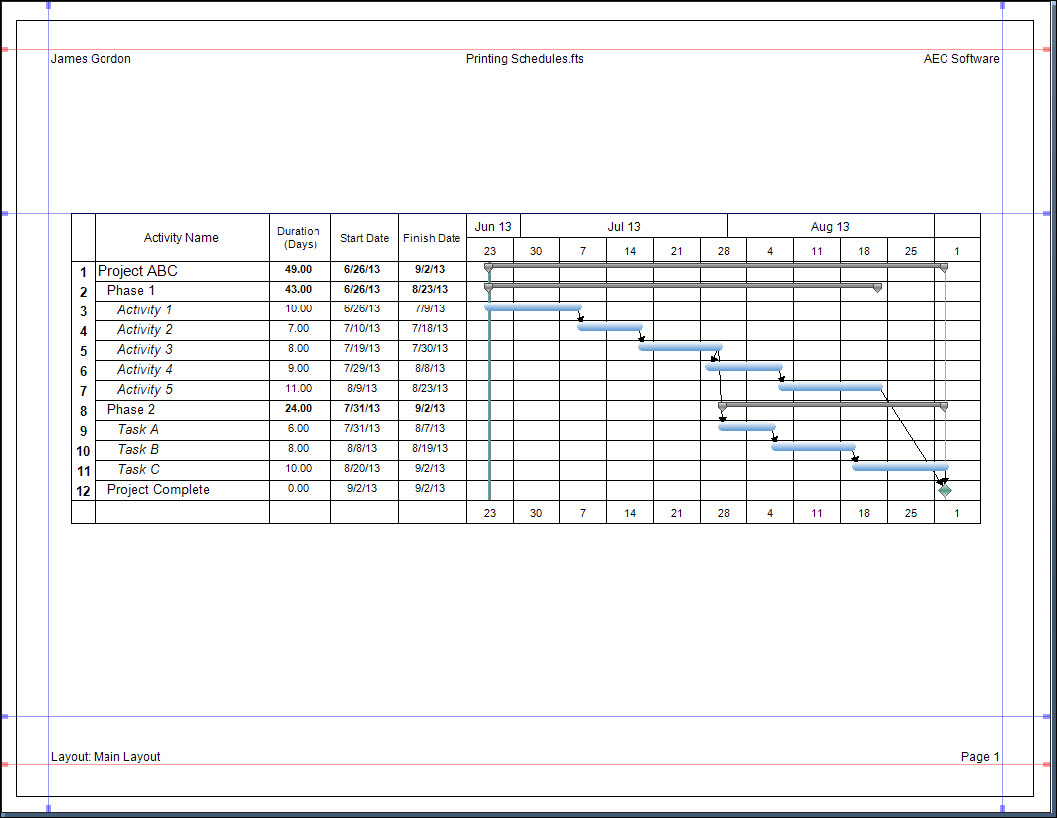
When we are satisfied with how our Header and Footer preview appears we can select OK to save and apply this to our print preview.
Our print out is looking pretty good at this point, but we’d still like to add in something extra to make it really stand out from other projects. This is a great time to add in an image, such as a company logo, to the print out. To do this we’ll go to Insert > Insert Picture. This will open the Insert Picture dialogue where we can either use an image stored in our clipboard, or we can select to Browse for a specific saved image. Once we select our image we can select OK to add it to the print preview.
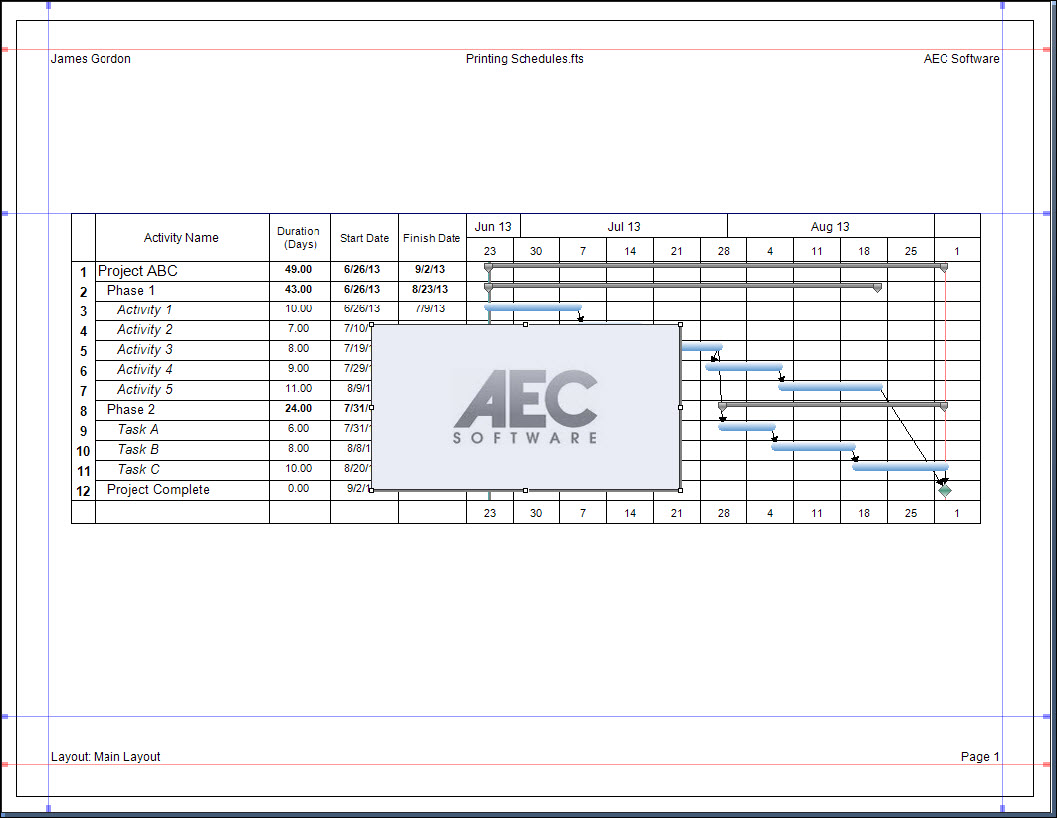
As we see here, when we add an image it is added to the middle of the print preview. This will allow us to move and re-size the image so that it will appear exactly as we would like it to. In our example, I’ve chosen to hide the AEC Software text and move the image to the same location.
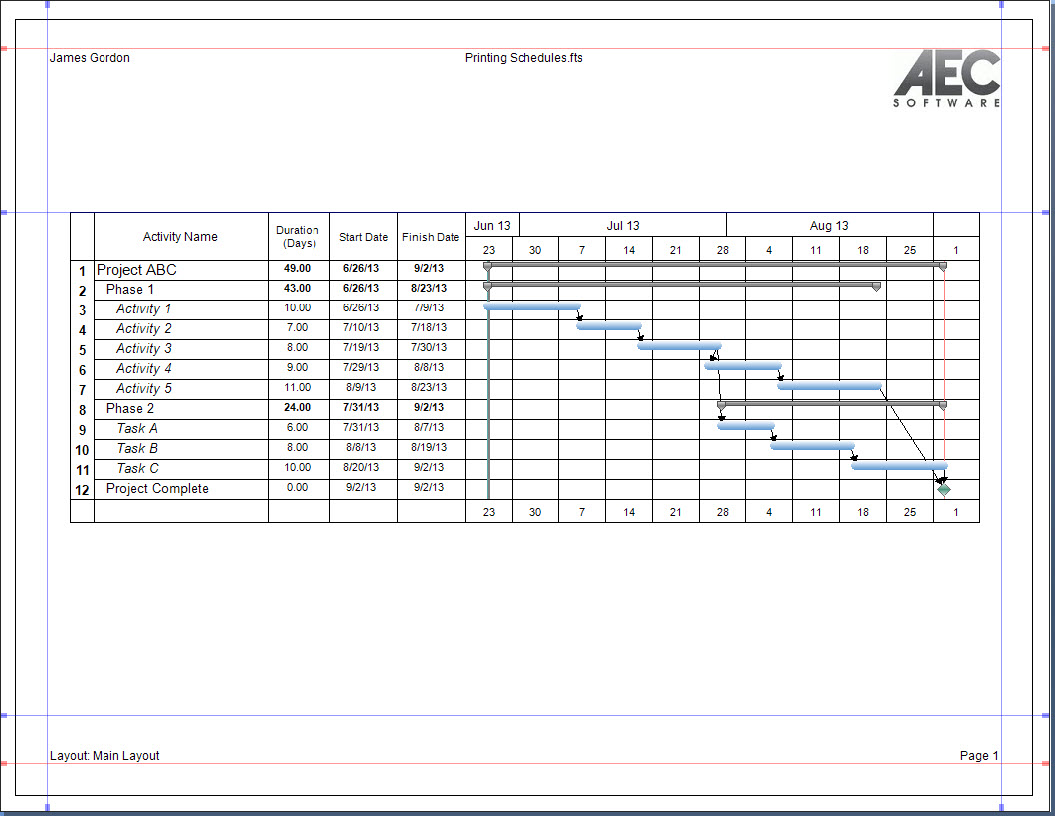
Now our print out is looking much more professional than when we originally started. The last step we can take is to choose to hide the Printable Area and View Margins lines (Red and Blue). Doing this will allow us a fully unobstructed view of what our print out will look like. To do this we can go to the Print Preview Toolbar and de-select Printable Area and View Margins.
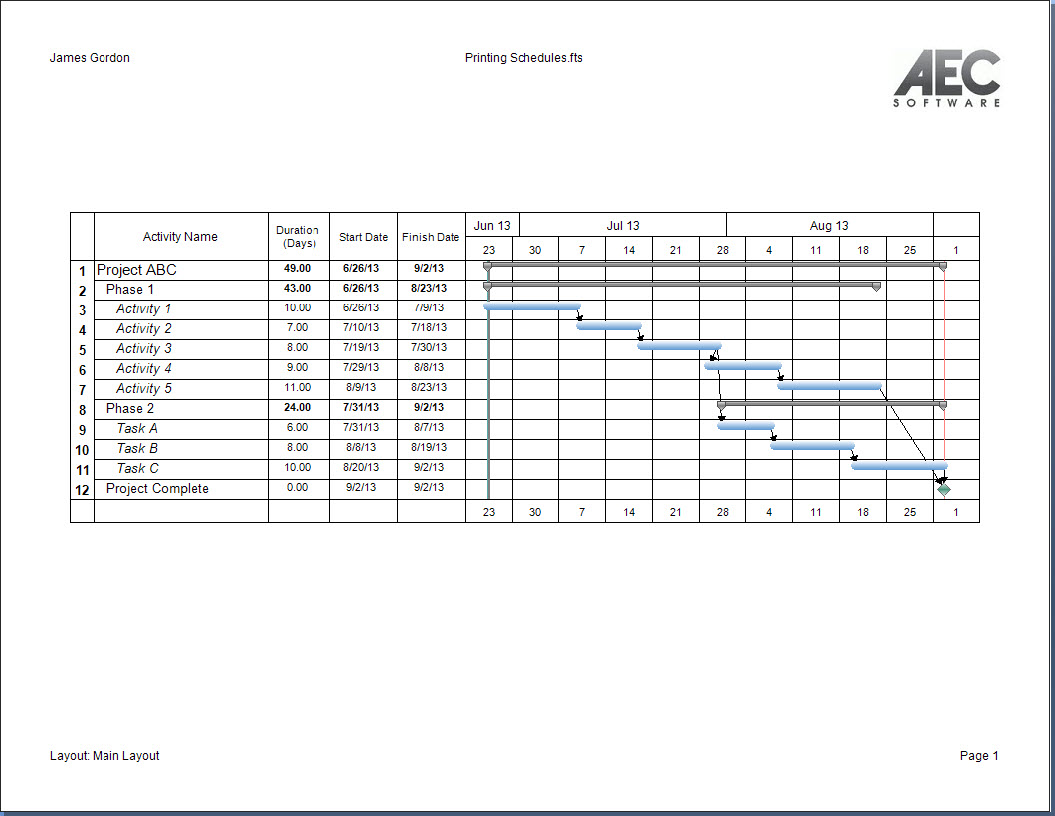
Now that we can see what our project will look like when we print it out, we can move on with printing or we can continue to make changes and additions until we are completely satisfied with its presentation. When working in the print preview we can easily manage exactly what and how our project is going to appear when we send it to be printed.
Do you often find yourself printing out physical copies of your schedule? If so, have you noticed that you may have overlooked what can be considered important supplemental tools in presenting the project details?