Sometimes the most important part of creating schedules is preparing them to present to coworkers, clients, or potential clients. Not only do we have to organize the data in a logical way that our audience can understand, but we also need any documents to appear as professional as possible. One often overlooked aspect of creating this professional feel is adding the correct Headers and Footers to our schedules. In FastTrack Schedule 10 we can easily add Headers and Footers for a number of dynamic or static text values. We’ll even have the ability to drag images, such as company logos, into our Header and Footer sections.
The best place to add or modify Headers and Footers will be in Print Preview. Here we’ll have direct access to the Headers and Footers menu and we’ll also be able to immediately see how they look on our document. To begin creating Headers and Footers simply select the Header & Footer option from the toolbar, or go to View > Header & Footer. This will open the Header & Footer dialogue.
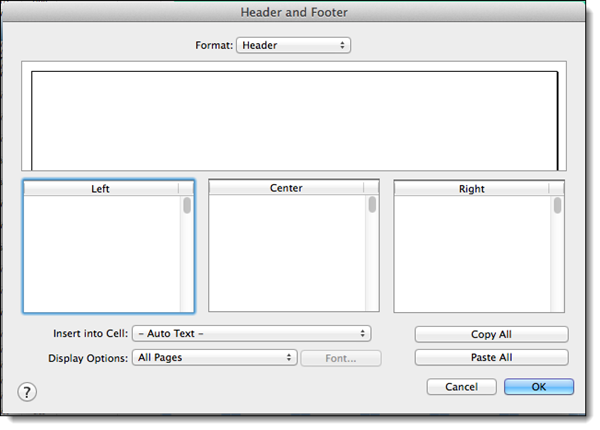
The first thing we see while in the dialogue is a rectangular space, which is used as an example of the top of your page. As we enter different headers they will be displayed here as an example for the document. There are then 3 unique sections for both Headers and Footers which are: Left, Center, and Right. Each section corresponds to the part of the page that you‘d like to place the Header or Footer.
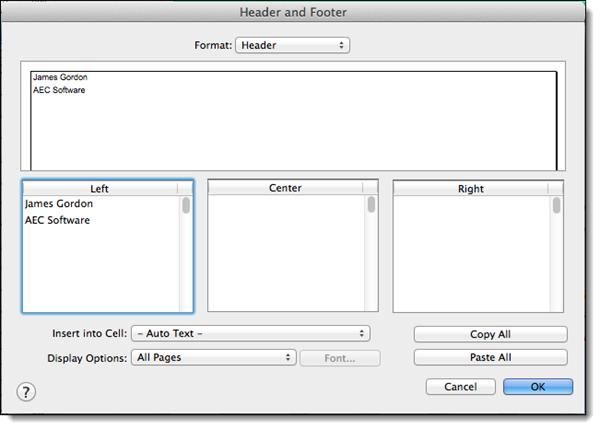
When working with Headers and Footers there are two options for the type of data that can be entered. The first option is to enter Static Text. This would be something that the user manually enters, and would not change with the file. Static Text might typically include items such as the project manager’s name or company name. To enter Static Text simply select in the area of the Header or Footer that you wish to modify, and then type the text in. Once you select outside of that location the text will appear in the example window.
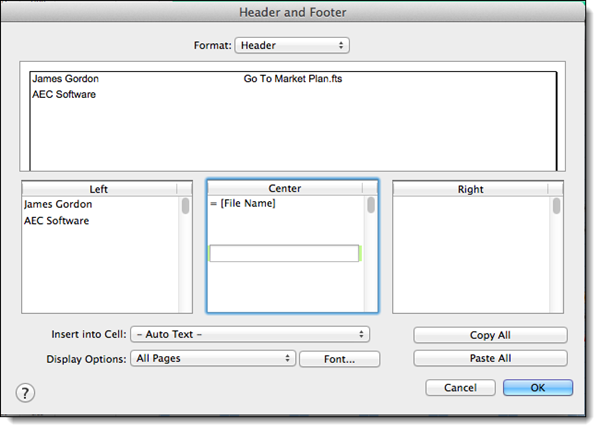
The second option for Header and Footer data is Auto Text. Auto Text are values that are automatically populated into the Header or Footer. These items may change based on file data, such as the current data, or if a specific filter or layout has been applied. To enter Auto Text select in the area of the Header or Footer that you wish to modify, then use the drop down menu at Insert into Cell to select the item(s) you wish to appear. Just like before when you select outside of the text location, it will automatically appear in the example window.
After you have applied all of the Header and Footers that you wish to see in your document select OK to close the dialogue and apply the new settings to your document. When we do this, all Headers and Footers will now be visible in the schedule.
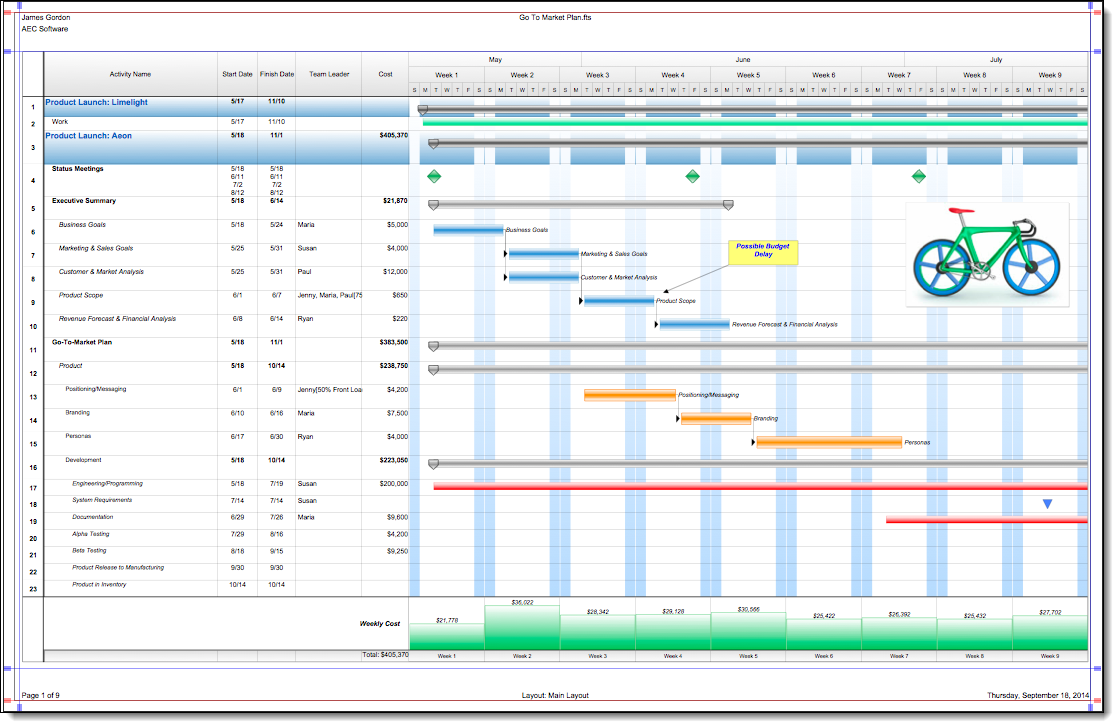
The final option available for working with Headers and Footers is to add an image to either location. Adding an image actually isn’t handled directly through the Header and Footer dialogue. It is instead done by going to Insert > Picture and either navigating to a saved image, or by copying one from your clipboard. When the image is inserted it will be placed in the center of the schedule. FastTrack doesn’t have “locked” Header and Footer locations, so you can then drag this image and re-size it as necessary to fit it in either a Header or Footer.

Even though Headers and Footers may be an often overlooked item when creating a report, they can help to provide that truly professional look and feel for your documents. Do you have a standard set of Headers and Footers that you use within your own schedules?