
In all of our projects we have many different ways of defining and differentiating the types of tasks or types of data that we are utilizing. So far we’ve looked at using customized data columns and outline levels to assign specific information to tasks or highlight certain parts of our projects. In addition to these options we can also create customized bar and milestone styles for all of the different task types in our project.
In FastTrack Schedule 10 we can create an infinite number of bars within any of the projects we are using. When customizing bar styles we have the ability to modify an existing style and see the changes automatically take effect, or we can create a brand new bar style and apply it when needed.
To begin defining bar styles go to Format > Bar Style which will open the Format Bar Styles Dialogue. On the left-hand side of the dialogue we see a menu labeled Bar Style with a list of all of the Bars and Milestones that currently exist in your file.
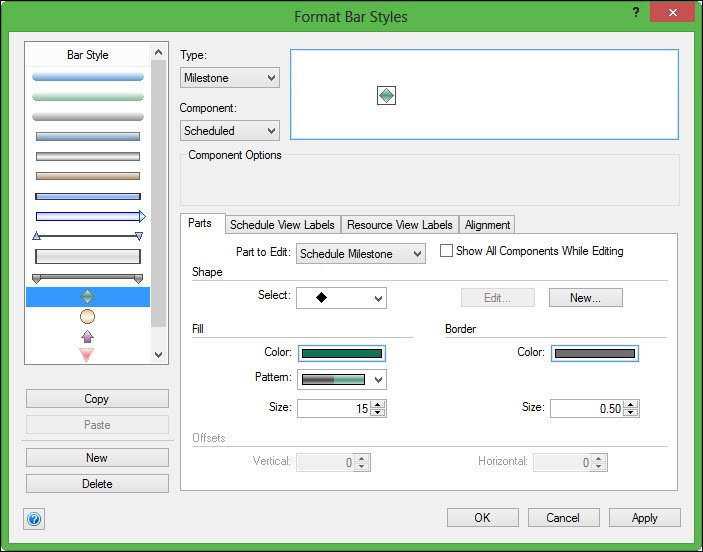
To modify an existing Bar Style select the bar you wish to change. We will select the top blue bar from the list. In the section labeled Parts we can select what portion of the bar we would like to modify. Options include Start Point, Finish Point, or Bar for each of the drawn components: Scheduled, Revised, and Actual. We can start by modifying the Schedule Bar which will allow us to change how the center portion of the bar will appear. Here we can change the color that is currently applied, and we can even choose a distinctive pattern to apply to the bar as well. When applying certain patterns you may also find it appropriate to apply a border to the bar which will give the bar a colored edge around the pattern.

Once we have defined how the Schedule Bar part will look we can then modify the Start and Finish Points. When modifying these we can do so individually so that the bar can look different on one end than it does on the other. First we can select the exact shape that we would like to use for the bar end. We also have the option of having no end point, in which case only the Schedule Bar will be displayed. After we select the shape we can select any color, patterns, or borders that we wish to apply. You can then repeat these same steps for the other end point.
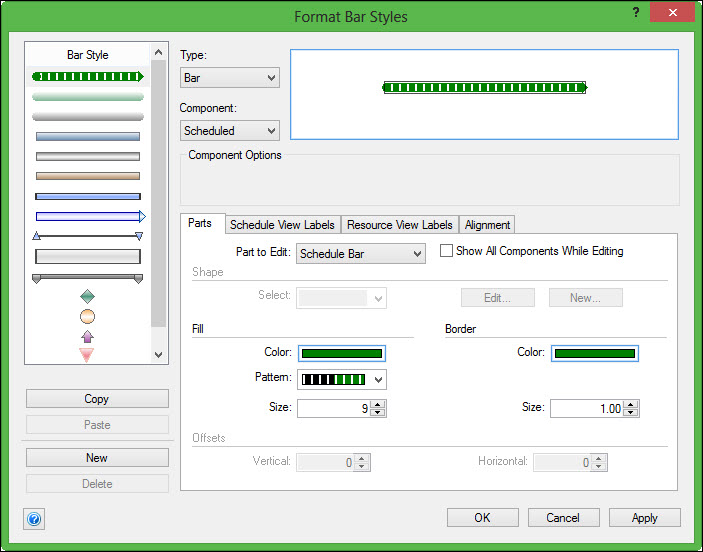
Once we have changed all of the portions of the bar you can select Apply then select OK. This will apply the new bar in the schedule and save it so it can be applied to additional bars in the future.
Creating a new bar from scratch is similar to modifying an existing bar. When you have opened the Format Bar Dialogue select New under the Bar Style list. This will create a brand new bar with basic formatting applied. You can then modify the attributes to get this bar to appear exactly as you would like. When you have finished modifying the bar select OK to save the bar style and apply it to your project.
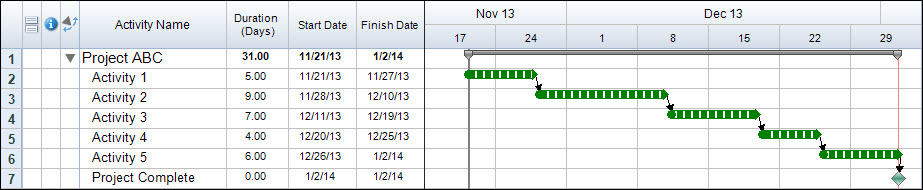
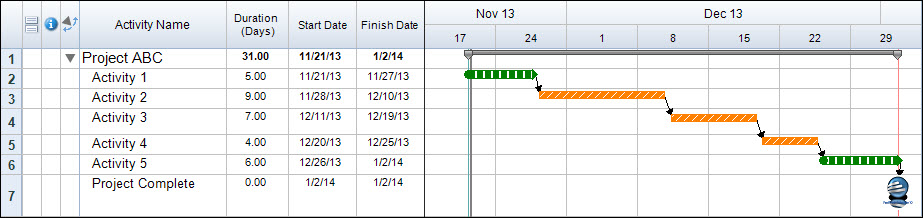
When creating a new bar from scratch you will notice that it is not automatically applied to any tasks in your project. To apply this bar in your project you can select any bar in the Timeline Graph; holding the shift key while doing so allows you to select multiple bars at once. You can then go to the Bar Styles drop down and select your newly created bar. As soon as you do this the selected bars will update to display the new bar style.

In addition to creating and modifying bar styles you can also create and modify milestones. One option that is available for milestones is to create one that uses an image. This way, when you reach a certain point in the project you have a graphic that represent this. To create a milestone we’ll being the same way as we did with bar styles; go to Format > Bar Style. Select New then from the Type drop down select Milestone.
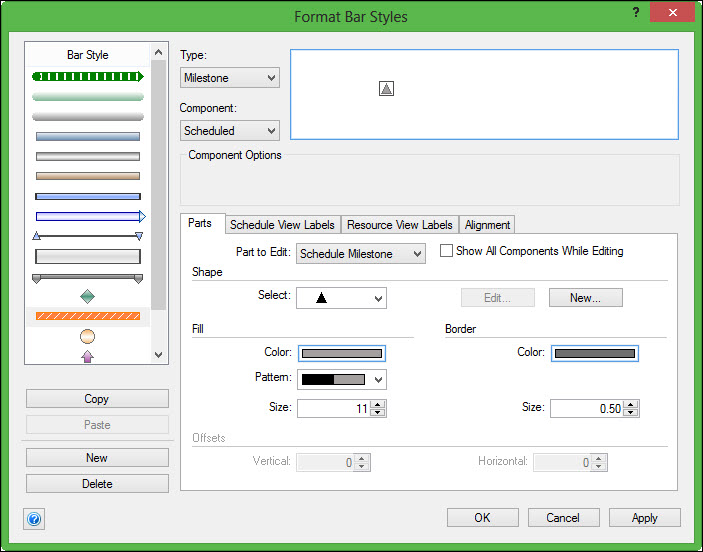
Next, in the area labeled Shape select New. This will open the Format Point Dialogue. Here, select Insert which will allow you to browse for the image you would like to use.
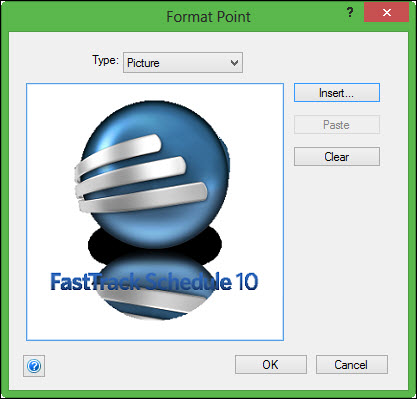
After you select an image press OK to save the image and close the dialogue. If necessary you can then increase the size of the Milestone to your liking. When done editing the size select OK to save the Milestone and close the Format Bar Styles Dialogue. Just as with custom bar styles we must now apply this any existing milestones in the project. Select a milestone in the Timeline Graph or hold shift to select multiple. Then, go to the Bar Styles drop down and select the newly created Milestone.
By utilizing customized Bar and Milestone Styles we can easily create a specific look and feel within our projects. Not only that, but we can also help to identify different types of tasks or assignments based on the bar styles that we apply. How can you use custom bar styles to give your own project a custom look?
