In many of our schedules, we need to keep track of items such as when different resources or groups are assigned to work within the project. The typical problem may arise when we need to create simple schedules from the overall project, which can show us when one specific resource or a group of resources will be working.
One way we can accomplish this in FastTrack Schedule 10 is by formatting Filters which allows us to search for almost any user-defined data that is stored within the columns of your project. In the example today, we’ll build a Filter to identify when a specific department is working within our project. For information on how to format a customized “Department” column within your project take a look at our Creating Custom Value Lists post.
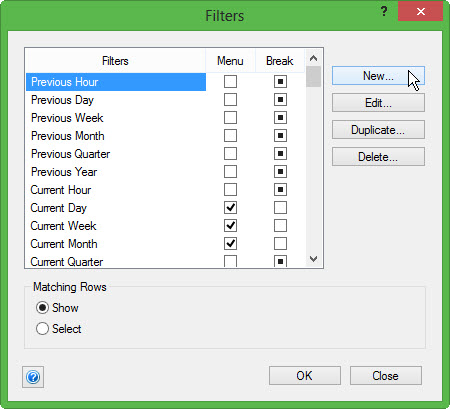
To create a Filter, go to the Filters tool and select Define. Once in the Filters Menu, we can select New, which will allow us to create a new Filter from scratch.

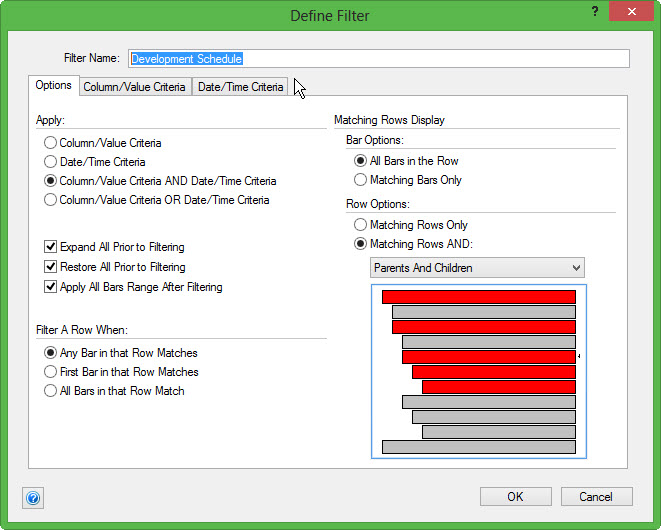
When we do this, the Define Filter Dialog, where we can format our new filter, will open. The first step that we take when creating our custom Filter is to enter a name for the Filter. Today’s Filter will be formatted to search for the “Development” department, so we’ll call the filter “Development Schedule.”

When we begin working with Filters, it is best to leave the Options tab settings as they are. This will give you the best results when you begin working with Filters. As you work with them more, you can modify the options within this tab based on the amount of data you need to see within your search.
After entering our customized Filter name, move to the tab labeled Column/Value Criteria. This is where we will define the column we wish to search and the exact data that we are searching for. Follow these steps to input the data:
1. From Column, use the drop down list to select Department.
2. In the column Test, choose the logic to be used when searching. We will keep this as *txt* (Contains) because this will find any activity that contains our search value.
3. Finally, enter the Value that we wish to search the Department column for. Since we’ve named the filter Development Schedule we can select Developmentas the value we will search for.
a. If you’ve created a custom value list, you can use this to pick the exact value you will search for.
4. Select OK to save your newly created Filter.

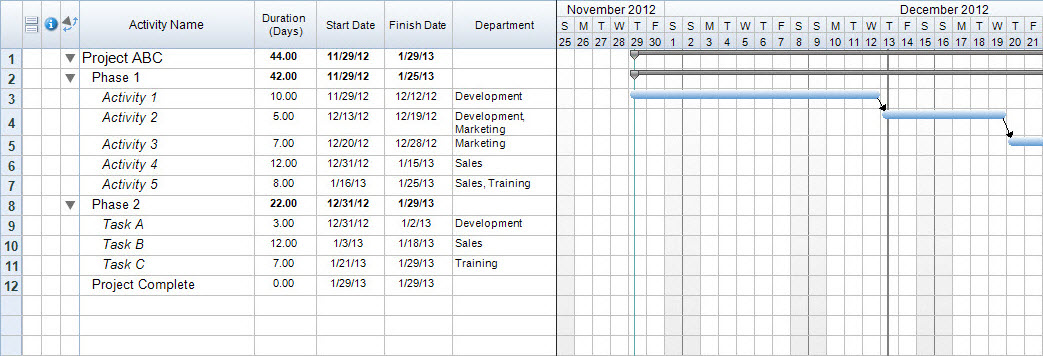
When we select OK, we are brought back to the Filters Menu where we can select Close. This will close the dialog and allow us to continue to work and make edits within our schedule. Before we run our filter, we can take a quick look at the overall schedule. Here we can see when the Development department is working, however, we can still see when all other departments are working as well.

To apply our Development Schedule filter and see a specialized report of just the tasks which the Development department is assigned to, go to the Filters tool and select Development Schedule from the drop down list. Our Filter will run and any Activity which contains Development in the Department column will be displayed.

Now we can see exactly which tasks the Development department is assigned to without seeing any additional information. If needed, you can very easily recreate this Development Schedule filter for any other departments utilized in your project by simply switching the value of Development with a different department value.
Have you ever run into a situation where you needed to see the work for one specific department or resource within your project, but viewing the entire schedule was not specific enough? By utilizing filters you can quickly create reports for any different number of customized data built into your projects.
